Kettlebell Deadlift Form: A Step-by-Step Guide

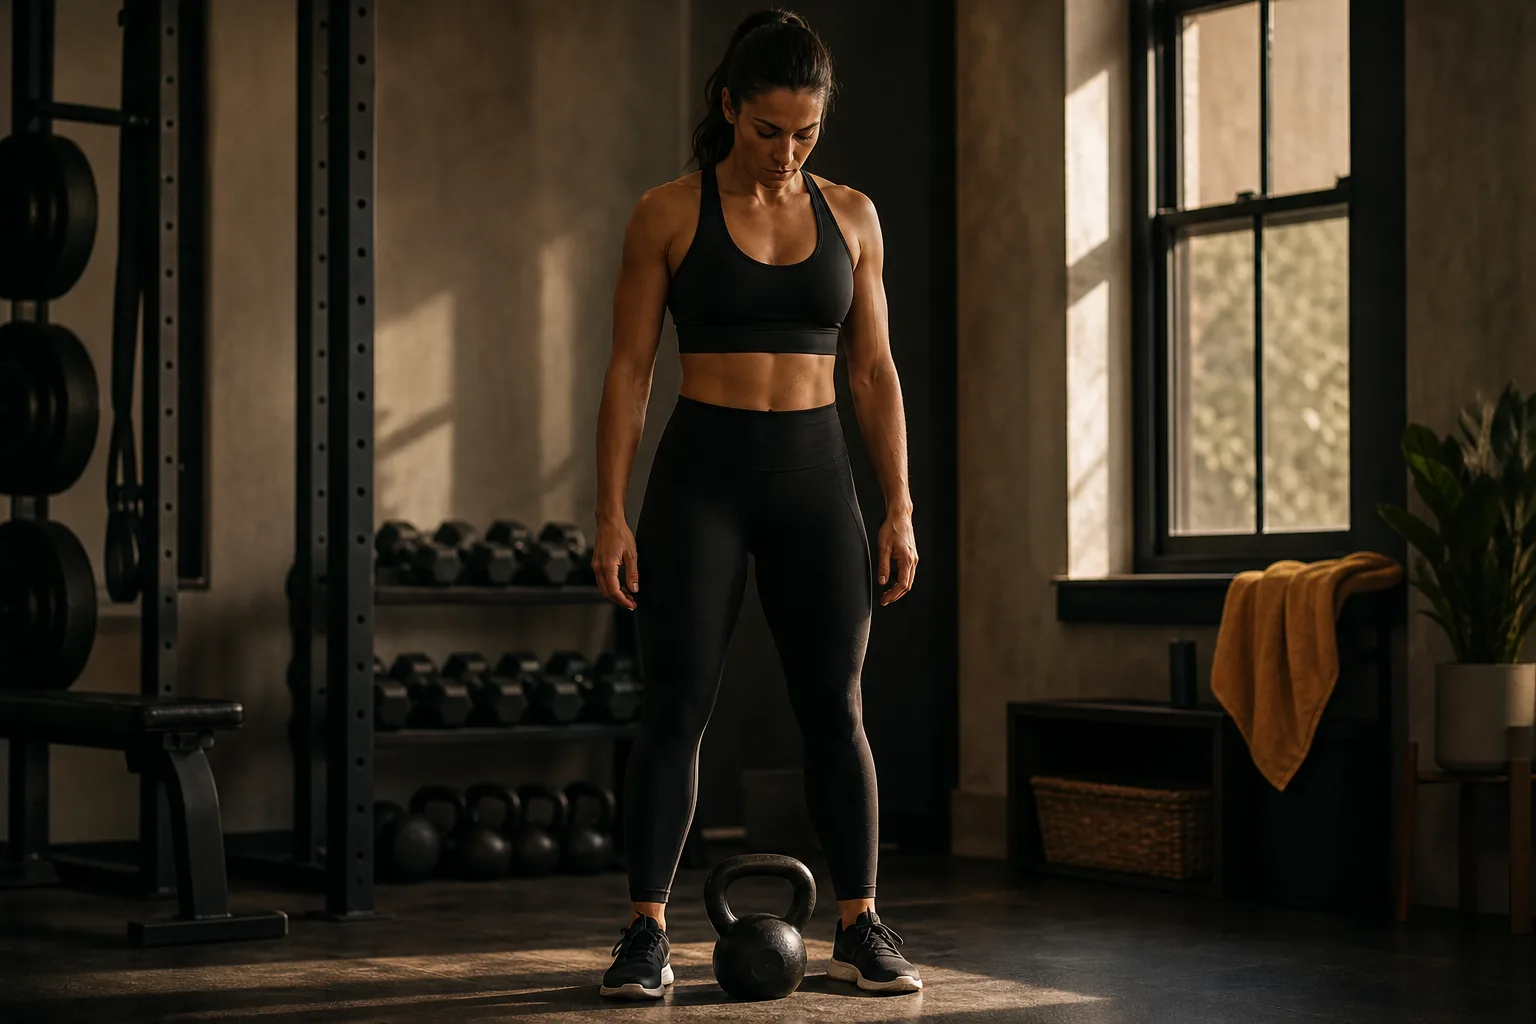
A kettlebell deadlift should feel like a strong hip hinge, not a tug on your lower back. Keep your spine long, move the bell close, and stand by driving your hips forward. These steps will help you set up, lift, lower, and check each rep.
An analysis of 38 comments from YouTube and Reddit about kettlebell Deadlift found that 45% mentioned proper torso positioning.
Step 1: Choose Your Kettlebell and Set Your Stance
Start with a bell you can lift without changing your shape. You should be able to reach it with a hip hinge, keep your back long, and stand tall without jerking. If you have to round your back to reach the handle, try a lighter bell or raise it on a firm, low surface.
For this version, you’ll hold one kettlebell with both hands. Set the bell on the floor between your feet, with the handle lined up around your ankle bones. Stand about hip-width apart. Point your toes forward or turn them out just a little.
There isn’t one stance that fits every body. Move your feet a small amount until your hands can reach the handle without your knees crowding them. Your weight should feel spread across each foot, not tipped onto your toes or heels.
A useful first check is the bell’s position. If it starts too far ahead, you may reach for it and lose your balance. Standard kettlebell deadlift coaching places the bell between the feet and cue a hip hinge before the grip. Keep that simple order: set the bell, set your feet, then reach.
Pick a load that lets you repeat the same setup for every rep. Choose a weight that challenges the back of your legs and hips while letting you keep a controlled hinge and a neutral spine. If the bell pulls you forward or makes your back round, reduce the load.
Deadlifts train the muscles along the back of your body. Your glutes and hamstrings help straighten your hips, while your core works to keep your trunk steady. This is a useful strength move on its own or as part of a home lower-body session, such as the ideas in these kettlebell leg workouts for strength.
By now you should have a stable stance and a bell you can control from the floor.
Step 2: Hinge, Grip the Bell, and Brace
Now reach the handle without turning the deadlift into a squat. Soften your knees, then send your hips back as your chest tips forward. Think of shutting a drawer behind you with your hips. Your knees bend enough to reach the bell, but your hips should move back first.
Stop when your hands reach the handle and you can keep your spine in a comfortable, neutral line. Neutral doesn’t mean forcing a deep arch. Keep your head in line with your back, and look at a spot on the floor a few feet ahead. Don’t crank your chin up to watch yourself in a mirror.
Wrap both hands around the handle. Keep your wrists straight. Before you lift, set your shoulders by drawing them gently back and down, away from your ears. Tighten the muscles under your arms as if you’re holding a folded towel there. Your arms stay long; they hold the bell but don’t curl it upward.
Next, brace your middle. Keep your ribs stacked over your pelvis, then tighten your trunk as if you’re about to cough. You should feel pressure around your midsection, not just a hard squeeze in your stomach. Take a breath that lets you keep that support as you begin the rep.
The main cue is a long, steady back. A rounded lower back means the position or load needs to change before you lift. Try moving your feet slightly wider or raising the bell. The goal is to reach the handle while keeping your shape, not to force a deeper range.
Hybrid Fit Mom’s coaching approach puts clear cues beside the movement itself. That matters when you’re learning at home: a saved clip may show the lift, but you still need to know what to feel and what to change if your back rounds. If you’re building toward faster hinge work, review the cues for kettlebell swing form after you can repeat this slower lift with control.
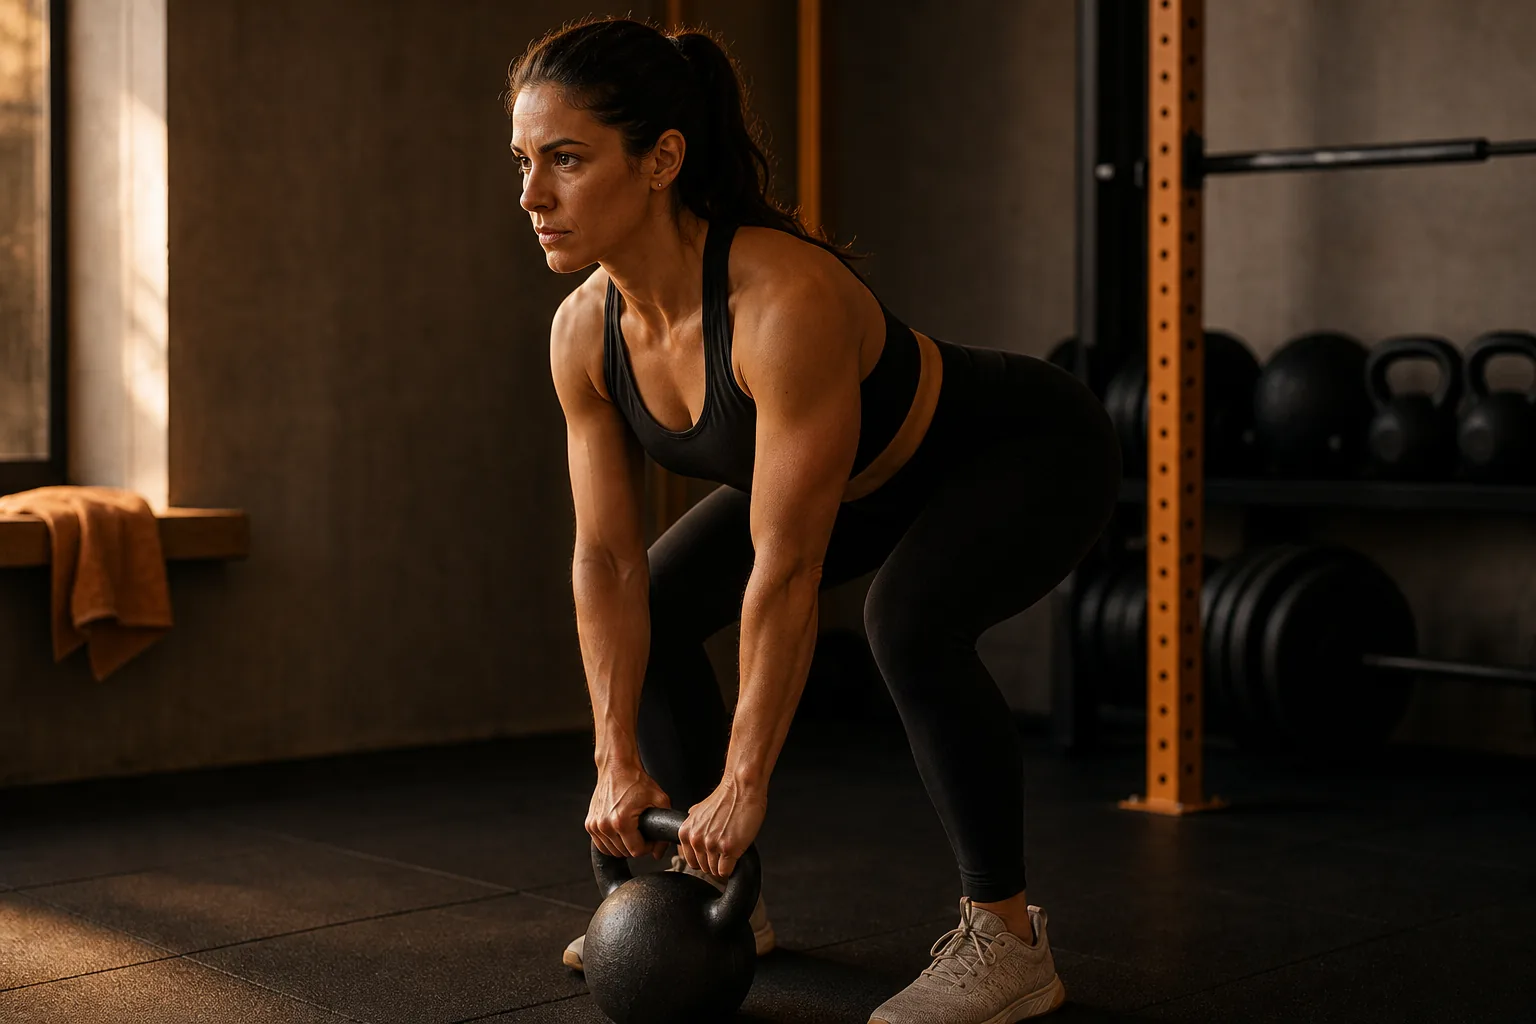
By now you should be gripping the bell with both hands, feeling tension through your trunk, and ready to push the floor away.
Step 3: Drive Through Your Feet and Stand Tall
Start the lift by pressing your feet into the floor. Let your knees and hips straighten as your chest rises. Think “stand up” rather than “pull the bell.” Your arms stay quiet while your hips and legs move the load.
As you rise, drive your hips forward. Your glutes help finish the hip extension, and your hamstrings support the hinge. Keep your ribs over your pelvis instead of throwing your chest back. At the top, stand tall with your hips straight and your shoulders relaxed.
Don’t lean behind your heels to make the rep look bigger. That extra backward bend isn’t part of the lift. Squeeze your glutes enough to stand upright, then stop. Your head stays neutral rather than tipping back.
Keep the bell close to your body and guide it in a straight path upward. If it swings away from you, pause and check your setup. A bell that drifts forward can pull your shoulders out of place and make the lift feel less steady.
Notice what’s doing the work. You may feel your glutes and hamstrings, along with your core holding your trunk firm. Your arms shouldn’t feel like they’re lifting the bell by themselves. If your shoulders strain or your low back takes over, end the set and adjust the load or position.
Drive your hips forward to stand while keeping a neutral spine. That’s the core action in the rep: hip extension, not an arm pull.
For a first practice session, try three sets of six to eight smooth reps, resting long enough to reset your position. As you settle in, you can work up toward twelve reps a set, adjusted for load and goal. If you’re new to the move, stay toward the lower end until every rep looks much the same. More reps don’t help when your hinge starts to change.
The deadlift is a controlled strength lift. It can build the hinge pattern that you’ll use in movements such as a kettlebell swing, but don’t rush into speed just because the first few reps feel easy. Learn the slow version first.
By now you should be standing tall, with the bell close and no backward lean at the finish.
Step 4: Lower with Control, Reset, and Check Your Reps
Lower the bell by sending your hips back first. Keep a soft bend in your knees as your torso tips forward. Let the bell travel down close to your body, along the same straight path it took on the way up.
Once the bell reaches the floor, set it down quietly. Don’t drop it or let it swing forward. Keep your spine steady through the descent, then pause long enough to reset your grip and brace before the next rep.
Use that pause to check your form. Did your back stay long? Did the bell stay close? Did you finish standing tall instead of leaning back? If any answer is no, reduce the load or take a longer rest. A lighter bell with clean reps is a better choice than repeating the same fault.
Common mistakes tend to show up in the same places. A rounded back often means you’ve lost your brace or chosen a load you can’t control. A squat-like lift can mean your hips aren’t moving back enough. If your head is cranked up or tucked hard down, bring it back in line with your spine.
Watch for overextension at the top, too. You don’t need to thrust your hips past neutral or lean back to finish. Stand tall, tighten your glutes, and stop there. If you feel sharp pain, stop the set. Don’t try to fix pain by forcing more reps.
Progress only when your reps stay clean. Hybrid Fit Mom’s kettlebell program uses a simple rule: pick a bell you could deadlift for ten clean reps, and the program tells you when to go up a bell. That gives you a clear test, not a guess based on how energetic you feel that day.
The program is self-guided and runs for six weeks, with four sessions each week. It includes prerecorded exercise demonstrations and an eating framework. For busy women who want a schedule instead of a folder of saved workouts, Hybrid Fit Mom gives the week a shape while leaving the pace self-guided.
If you’re unsure how to fit deadlifts into home training, choose one session and write down the load and reps you completed. The next time, match the same clean form before adding weight. The broader home strength plan for women can help you think about where a hinge fits in a weekly routine.
By now you should have a repeatable cycle: hinge down, grip and brace, stand tall, then lower with control.
Kettlebell Deadlift Form FAQs
Where should the kettlebell be placed for a deadlift?
Place the kettlebell on the floor between your feet, near the line of your ankle bones. This gives you a centered starting point and helps keep the bell close as you stand. If reaching the handle makes your back round, try a slightly wider stance or raise the bell on a firm, low surface.
Should I feel kettlebell deadlifts in my lower back?
You may feel your trunk working to hold a steady position, but the lift shouldn’t feel like a sharp strain in your lower back. Your glutes and hamstrings should help drive the stand. If your back rounds or pain starts, stop the set and adjust your load or range. Ask a qualified health professional about ongoing pain.
How many reps should I do?
For a first practice session, try three sets of six to eight controlled reps. You can work up toward twelve reps a set as the movement settles, adjusted for the bell and your goal. Keep the set short enough that your hinge stays steady from the first rep to the last.
When should I use a heavier kettlebell?
Move to a heavier bell when ten reps with your current load feel clean and steady. Clean means your back stays long, the bell stays close, and you finish upright without leaning back. If the heavier bell changes those points, return to the lighter load.
Conclusion
Keep the bell centered, hinge with a long back, and make every rep look controlled before you add load. Start with a light kettlebell and practice ten clean reps; if you want a weekly plan built around home training, take a look at Hybrid Fit Mom’s six-week program.